Ships by 11/29/21
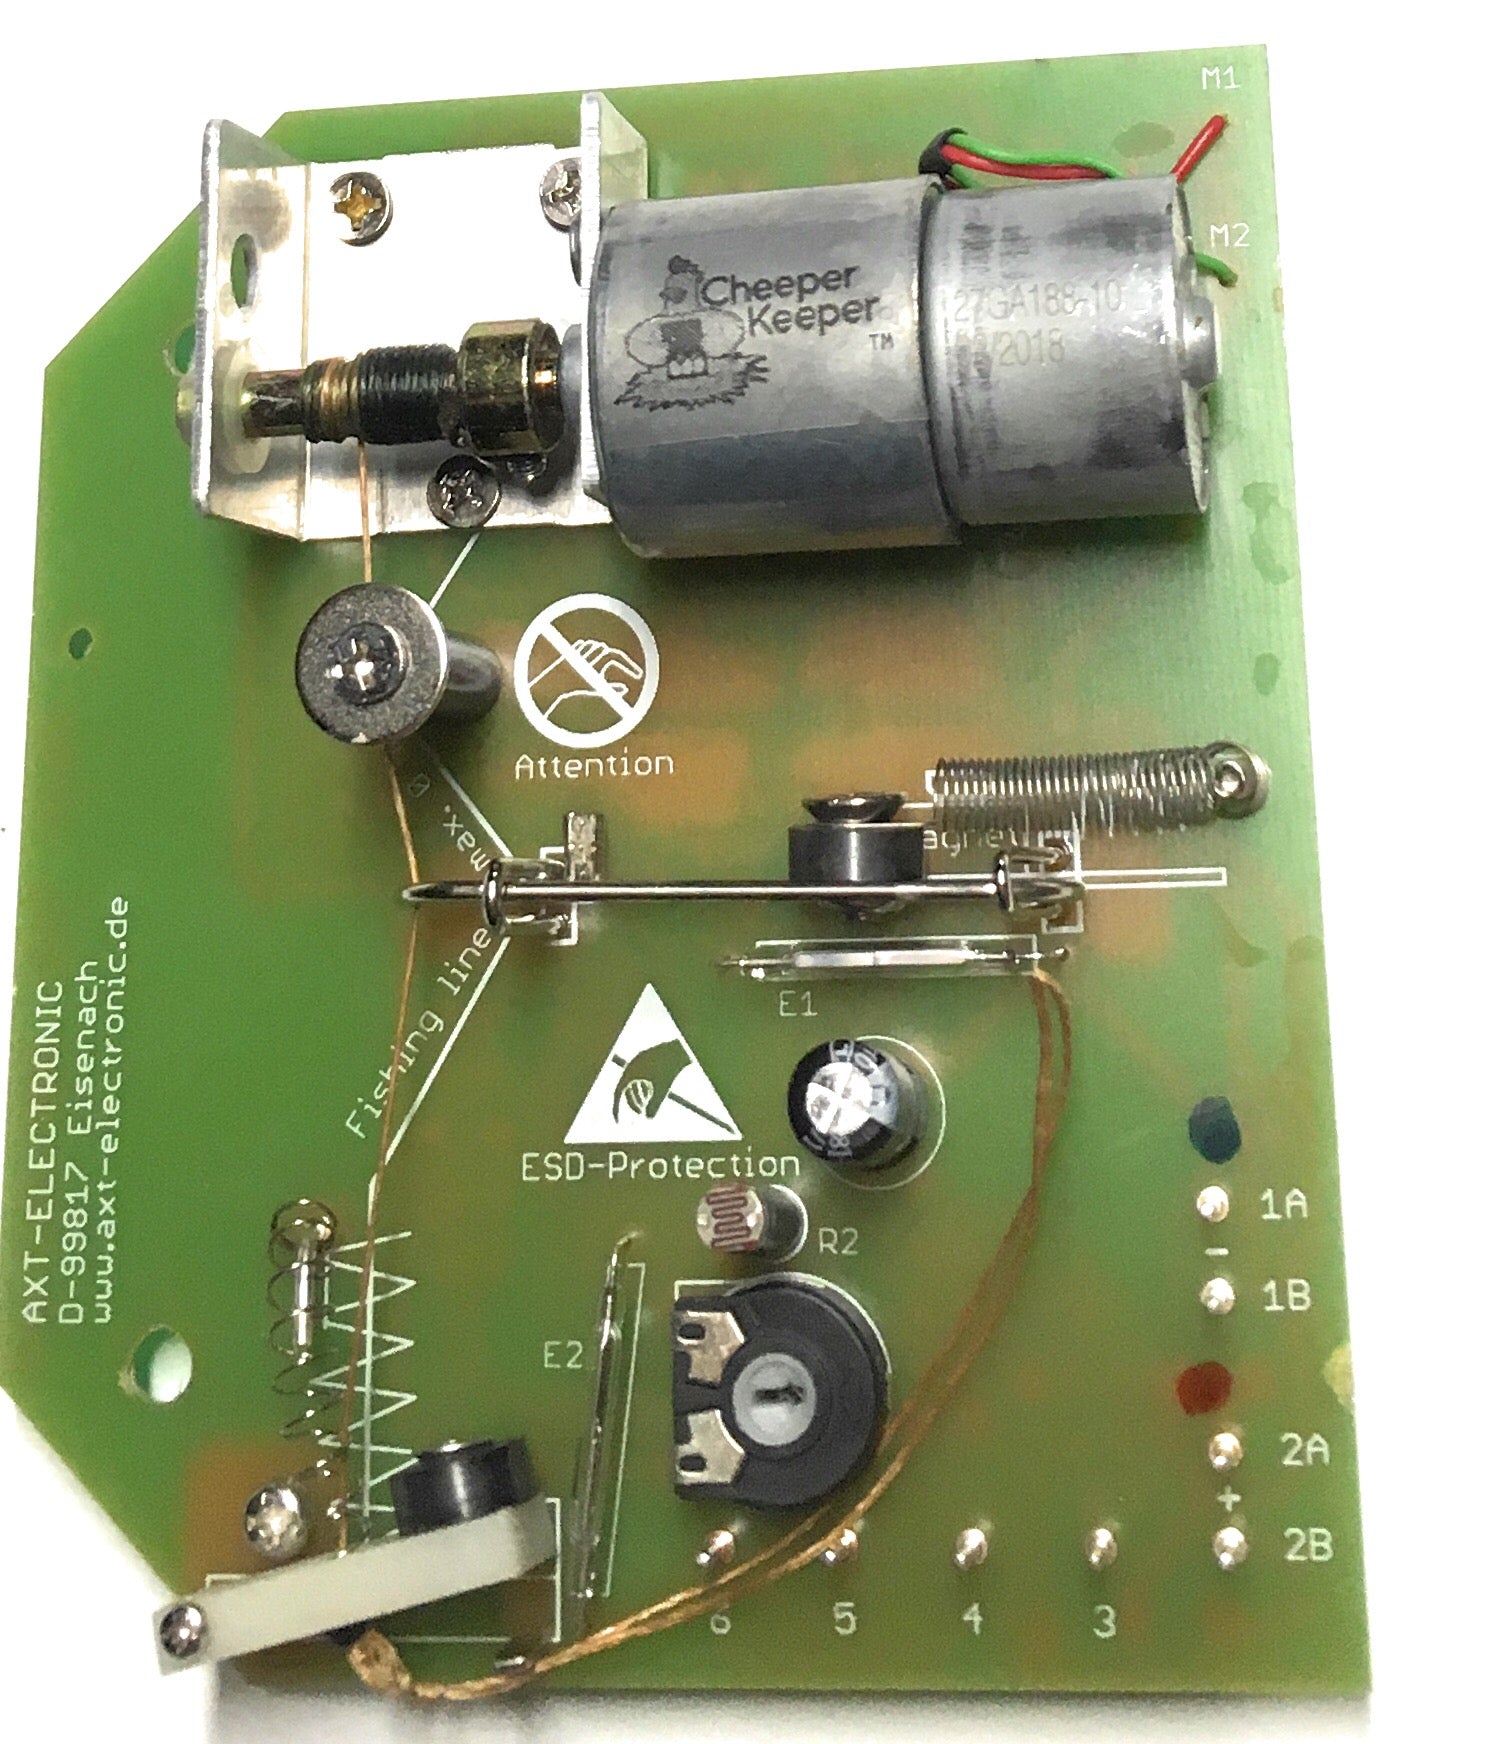
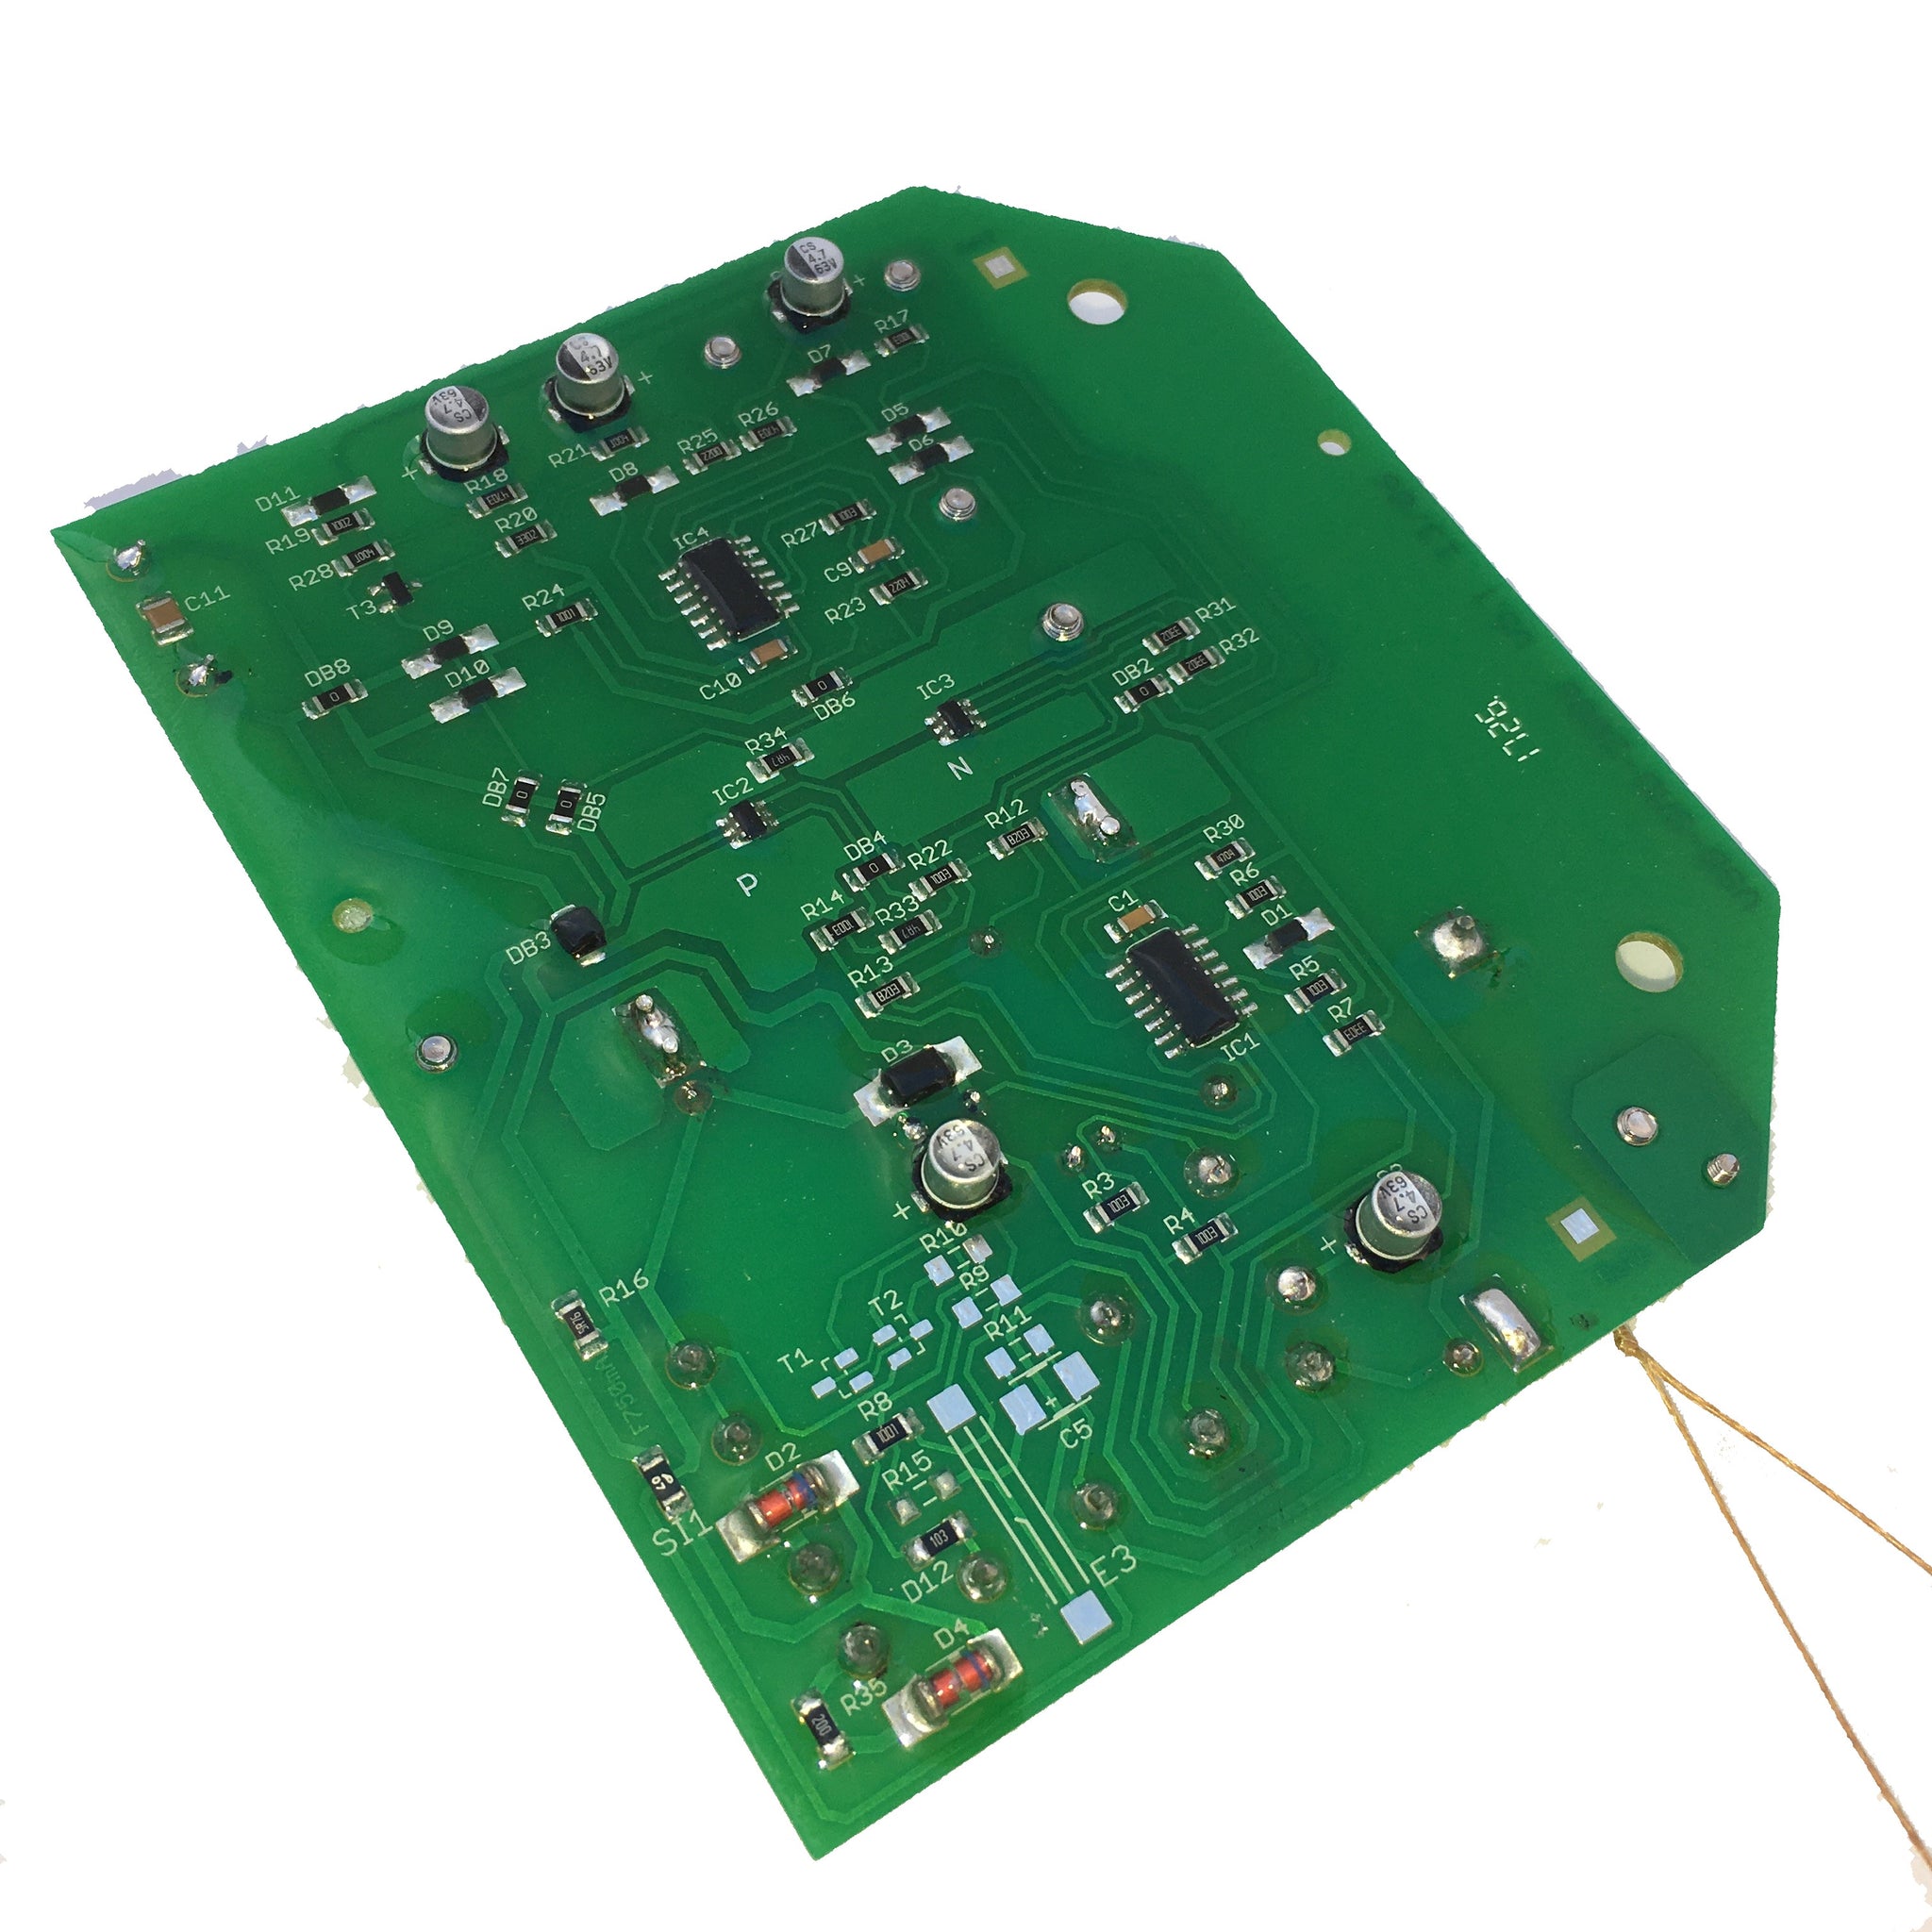
Official and authentic printed circuit board replacement for your Cheeper Keeper or AXT-Electronic door keeper. Replaces any VSBb-type circuit board, which is the standard sold by Cheeper Keeper, and the most popular one sold by AXT. Built by AXT-Electronic of Germany using only the finest parts and components. New and improved as of 2016. Instructions included.
- New and improved Quiet All-Steal Geared Motor made in Japan
- New and improved 60 pound test nylon cord
- New and improved internal light sensor is strong and reliable
- TRIPLE VARNISHED surface mount technology (SMT) resists dirt, dust, moisture, vapor, gas, and insects
- Electronic temporary shut down of 30 seconds if birds get caught in door
- Electronic relay devise prevents breakage if struck by lightning
Installation is Easy:
Step 1: Open front cover. Gently Remove Black Battery Pack by Removing the Black and Red Wires from the Silver Pins 1A and 2A Gently pull off from the metal terminals ONLY. Inspect Battery Pack Completely for any corrosion or wire breakage.
Step 2. Slightly unscrew the 2 Battery Pack Screws on the Right Hand Side, but not all the way, just loosen them up.
Step 3. Completely unscrew and Remove the 2 screws on the left hand side holding down the green electronic panel.
Step 4. Remove Green Panel by slightly tilting it and lifting up.
Step 5. Replace New Green Panel and thread the green/gold line loop end through the bottom left hand hole. Screw down screws. (All 4, starting from the left hand side to the right 2 that should only need tightening.)
Step 6. Replace Battery Pack, following Red and Black Dots to Red and Black Wires. Replace Batteries. HOOK UP DOOR.
The door provides the weight that signals the motor to “Go!”.
Lubricate the rails with: (3 n 1 household oil), white grease, or furniture polish.
Step 7. Test Unit by darkening it with a big dark cloth completely until the door closes, remove cloth and watch door open. You’re done. NOTE: Please be absolutely certain that the door is not binding anywhere in the rails, thus causing the motor to stress and burn out. Please consult the installation diagram!